Create Your Own Illustrated Book with Professional Artwork, No Drawing Skills Needed
Children's picture book, short comic or illustrated guide: from story to publication on Amazon KDP, with AI as your pencil.
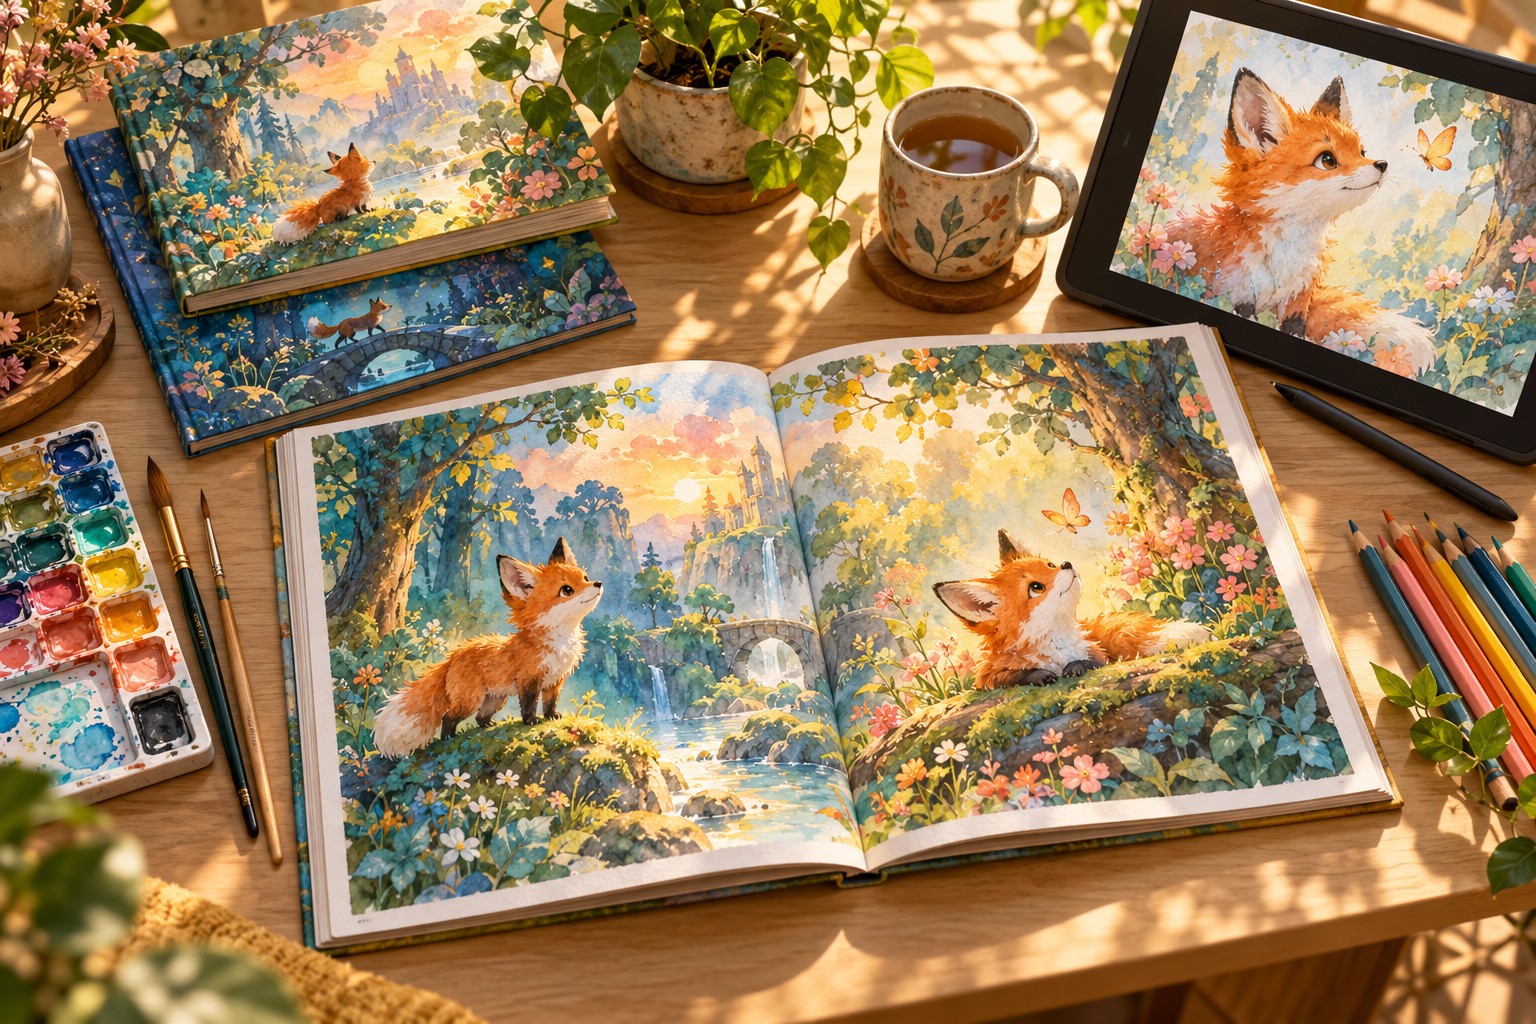
What you will learn
Bring your illustrated book to life: story, consistent characters, layout and printing, all the way to publication on Amazon KDP.
-
Story and structureWrite a text suited to your reader, page by page
-
StoryboardVisualise the whole book before generating the first image
-
Art directionChoose a style and document it in a style bible
-
Consistent charactersKeep the same hero from one page to the next with AI
-
Retouching and upscalingGet clean illustrations at 300 dpi
-
LayoutBring text and images together in Canva, Affinity or InDesign
-
KDP printingBleed, colours, paperback and hardcover without file rejections
-
Rights and publicationUse AI images safely and launch your book
A step-by-step learning path
12 modules and 64 lessons to progress step by step.
1Getting your illustrated book project off to a good start5 lessons
- 1.1 Welcome: what you will create in this course
- 1.2 Picture book, short comic or illustrated guide: choosing your format
- 1.3 What AI does well, and what it does badly
- 1.4 Your workspace and your tools
- 1.5 Project sheet: your book on one page
2Writing the story and structuring the content6 lessons
- 2.1 Finding your book's idea and promise
- 2.2 The narrative structure of a children's picture book
- 2.3 Structuring an illustrated guide or a practical book
- 2.4 Writing with AI without losing your voice
- 2.5 Adapting the text to the age group and to reading aloud
- 2.6 Page-by-page text breakdown template
3Storyboard and flatplan5 lessons
- 3.1 The flatplan: the map of your book
- 3.2 Drawing a storyboard without knowing how to draw
- 3.3 Framing, shots and visual rhythm
- 3.4 Turning the storyboard into a list of shots to generate
- 3.5 24- and 32-page flatplan template
4Defining your art direction6 lessons
- 4.1 What is art direction?
- 4.2 Exploring styles: watercolour, pencil, vector, soft 3D…
- 4.3 Building your colour palette and mood
- 4.4 The mood board
- 4.5 Writing your style bible
- 4.6 Style bible template
5Creating consistent characters with AI7 lessons
- 5.1 Why character consistency is so difficult
- 5.2 The detailed character profile
- 5.3 Character sheet: generating the reference views
- 5.4 Midjourney: character and style references
- 5.5 ChatGPT images and Ideogram: keeping the same hero
- 5.6 Secondary characters, animals and recurring objects
- 5.7 Character prompt library
6Generating the scenes and pages of the book5 lessons
- 6.1 Anatomy of a good scene prompt
- 6.2 Recurring settings: the house, the school, the forest…
- 6.3 Leaving room for text in the image
- 6.4 Producing in series: the batch production method
- 6.5 Selecting, correcting and regenerating flawed areas
7Retouching, cut-outs and upscaling5 lessons
- 7.1 Typical flaws in AI images and how to spot them
- 7.2 Retouching with Photopea, Affinity Photo or Photoshop
- 7.3 Harmonising colours across all pages
- 7.4 Enlarging without loss of quality (upscaling)
- 7.5 Illustration quality checklist
8Laying out text and images6 lessons
- 8.1 The basics of laying out an illustrated book
- 8.2 Choosing and pairing fonts
- 8.3 Complete layout in Canva
- 8.4 Layout in Affinity Publisher or InDesign
- 8.5 Front and back matter: title, copyright, dedication
- 8.6 Layout templates provided
9Preparing print-ready files5 lessons
- 9.1 Book formats and bleed explained simply
- 9.2 300 dpi resolution, RGB and CMYK: what you really need to know
- 9.3 Paperback or hardcover: KDP specifics for each
- 9.4 Exporting and checking your interior PDF
- 9.5 Print technical checklist
10Creating a cover that makes people want to read4 lessons
- 10.1 What makes an effective cover
- 10.2 Generating the cover illustration
- 10.3 Title, typography and back cover
- 10.4 KDP template: spine, bleed and export
11Copyright and licences for AI images4 lessons
- 11.1 Who owns an AI-generated image?
- 11.2 Tools' terms of use: commercial use
- 11.3 Avoiding infringement and declaring AI to Amazon
- 11.4 Creation log
12Publishing on Amazon KDP and selling your book6 lessons
- 12.1 Creating your KDP account and preparing your information
- 12.2 Book listing: title, description, keywords and categories
- 12.3 Pricing, royalties and ordering author copies
- 12.4 Digital edition: fixed-layout Kindle
- 12.5 Launching and promoting your book
- 12.6 30-day launch plan
Full course overview
Do you have a story to tell or knowledge to share, but you can't draw and a professional illustrator is beyond your budget? Image generators open up a new path, provided you know how to master them. Without a method, you end up with characters whose faces change on every page, images that print blurry and files rejected by Amazon. This course shows you how to create your illustrated book with AI.
What you will achieve
This course guides you from the initial idea to the published book: a children's picture book, a short comic or an illustrated guide, printed on demand through Amazon KDP in paperback or hardcover.
A proven method, step by step
- Write and structure your text, then break it down page by page.
- Build a storyboard and a page plan (flatplan), even if you can't draw.
- Define an art direction and record it in a style bible.
- Generate consistent characters and scenes with Midjourney, ChatGPT images or Ideogram.
- Retouch, harmonise and upscale your illustrations to print quality.
- Lay out your book in Canva, Affinity Publisher or InDesign.
- Meet the print specifications: bleed, 300 dpi, colours, cover.
- Publish and sell on Amazon KDP, knowing your rights over AI images.
Who is it for?
Parents, teachers, authors, trainers and creatives, with no technical or design skills required. Your trainer, Yvon-Patrick MAMIA, is a graphic designer, a published author on Amazon KDP and has been training people for more than 15 years: he shows you every step on screen.
What's included
54 videos across 12 modules, ready-to-use templates, a prompt library, layout templates, checklists, quizzes and a certificate of completion.
Course in preparation: the modules open progressively. By enrolling now, you benefit from the launch price and receive your access by email as soon as it opens.
Your illustrated book: going further
To go further, Write your book from A to Z guides you from writing to publishing. Then, if you want feedback on your illustrated book, book a mentoring session. Finally, the official Amazon KDP website explains how to publish an illustrated book.
Who is it for?
- Parents, grandparents and teachers who want to create a picture book for children
- Authors who have a children's text but no budget for an illustrator
- Trainers, coaches and experts who want to publish an illustrated guide
- Creatives curious to use AI in a professional and responsible way
- Authors already published on KDP who want to add illustrated books to their catalogue
Prerequisites
- A computer (Windows or Mac) with a stable internet connection
- No drawing or graphic design skills are needed
- An account with at least one image generator (a paid plan is recommended for commercial use)
- A free Canva account; Affinity Publisher or InDesign are optional
- An idea for a book, even if it is still vague
Practical information
Detailed programme (PDF)- Format
- Remote (e-learning), at your own pace
- Duration
- 22 hours of training
- Price
- €449 · payment in instalments available
- Access arrangements and timescales
- Online registration at any time. Access to the course opens as soon as payment is confirmed. On first access, a positioning questionnaire (situation, goals, starting level, adjustment needs) lets us tailor your support; a free preliminary call is still available on request.
- Teaching methods
- Distance learning (FOAD) on the platform, available 24/7: demonstration videos, downloadable resources, practical exercises based on real cases and a running project. Live virtual classes and replays. Trainer reachable by email or phone, with a reply within 48 working hours; optional one-to-one mentoring.
- Assessment methods
- Positioning questionnaire on entry, automatically marked quizzes (to be passed to complete the course), tracking of progress and learning time, satisfaction questionnaires at the end and later on. A certificate of completion is issued automatically at the end of the course, with the results achieved; a certificate of achievement and an attendance record can be downloaded.
- Accessibility
- This course is accessible to people with disabilities. Contact our disability officer before enrolling so that we can look at possible adjustments together (materials, pace, support). Learn more
- Contact
- A question before enrolling? Book a free call · contact@mypaschool.fr · 06 07 08 00 54
Information sheet updated on October 11, 2026. Our results indicators · Make a complaint